ConBee III and Matter over Thread
The ConBee III has the Zigbee function when delivered. A configuration as Thread Border Router is possible without any problems. To do this, the ConBee III Thread firmware must be programmed via webbrowser or manually via the command line using the GCFFlasher. This process can be undone at any time to restore the original Zigbee functionality of the ConBee III.
The Thread implementation from Silicon Labs is used for the ConBee III.
Installation
The Zigbee delivery firmware must be replaced with the Thread firmware. This can be done via an update in the web browser or manually.
Update directly in the web browser
The ConBee III firmware can be updated in the web browser. Currently, only Chrome and Edge are supported.
Connect the ConBee III to your PC/laptop.
Open the Online Firmware Updater and select the Thread firmware.

Perform the update.
Update manually
The firmware of the ConBee III can be updated manually. An tutorial video for the update under Windows is available on Youtube:
The individual steps are summarized here:
Download and unzip the GCFFlasher. A description how it works can be found in the Wiki article and in this Youtube-clip.
Download the Thread firmware for ConBee III and store it into the GCFFlasher directory.
Start the GCFFlasher and program the Thread firmware by using the command line. The COM port is set specifically depending on the operation system used and is described in the Wiki article.
Linux
GCFFlasher_internal -d /dev/ttyUSB0 -t 60 -f ot-rcp-cb3_0x01000900.GCFWindows
GCFFlasher -d [COM-Port] -t 60 -f ot-rcp-cb3_0x01000900.GCF
Example Home Assistant
The example application for using the ConBee II and the ConBee III as a Thread border router in the Home Assistant is described below. The smart plug Eve Energy is used as the end device to be controlled.
Preparation
The smart plug Eve Energy used for the example application must have Thread functionality. Depending on the firmware version of the device, this is already active or must be updated via the official Eve smartphone app.
The Matter installation code for the smart plug is required for successful setup. This is either included in the product packaging, attached to the device or saved as an image/document on the smartphone via the manufacturer’s app after a firmware update.
Setup
Log in to the Home Assistant web interface and open the
Settings
section.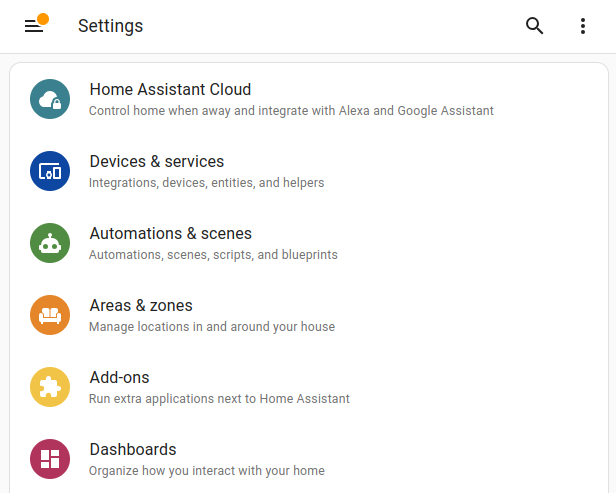
Open the settings of
System
and switch toAdd-ons
.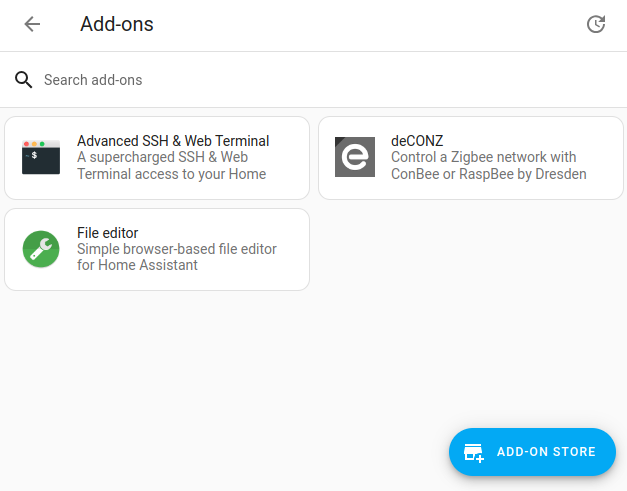
Search for
Open Thread Boarder Router
in the Add-ons store and install it.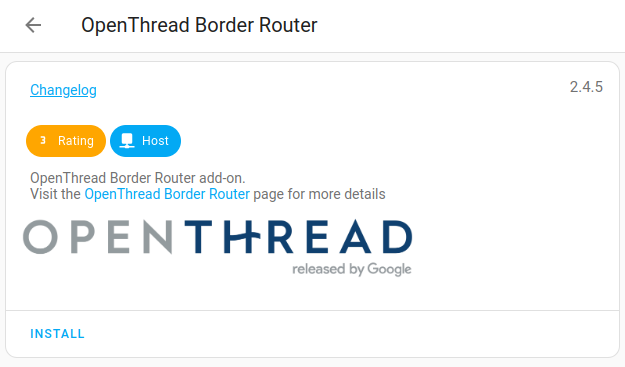
Configure the
Open Thread Boarder Router
add-on.
Set Hardware Flow Control = off
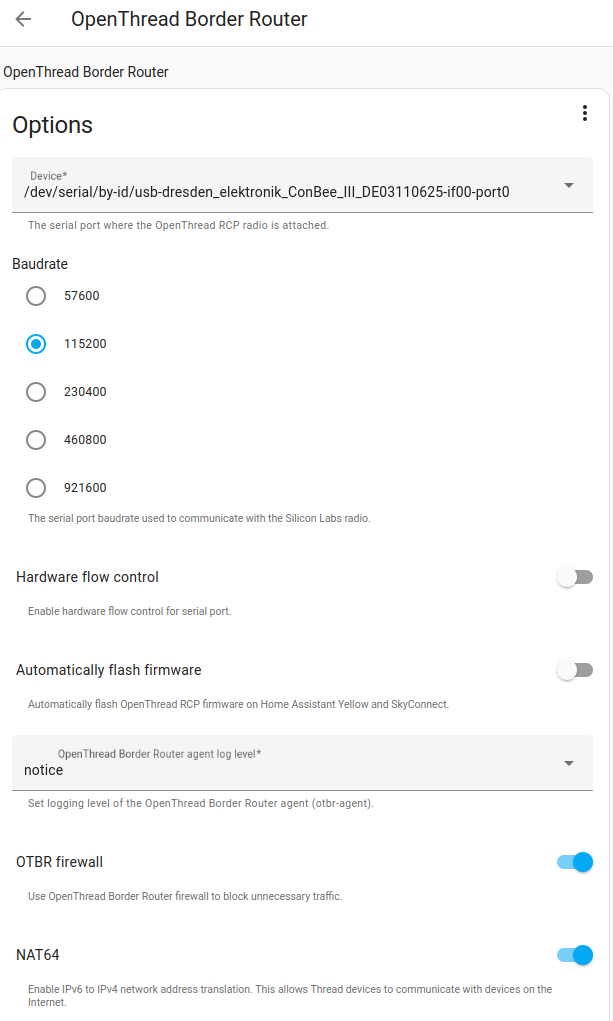{width="500" height=auto}Start the
Open Thread Boarder Router
add-on.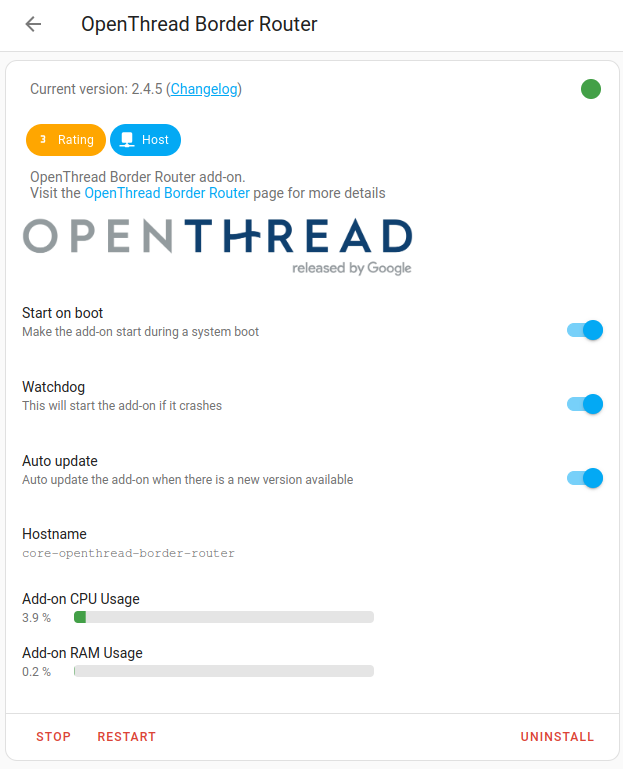
Search for
Matter Server
in the Add-ons store and install it.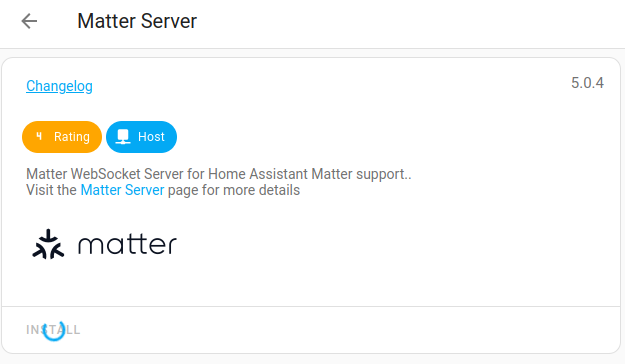
Start the
Matter Server
add-on.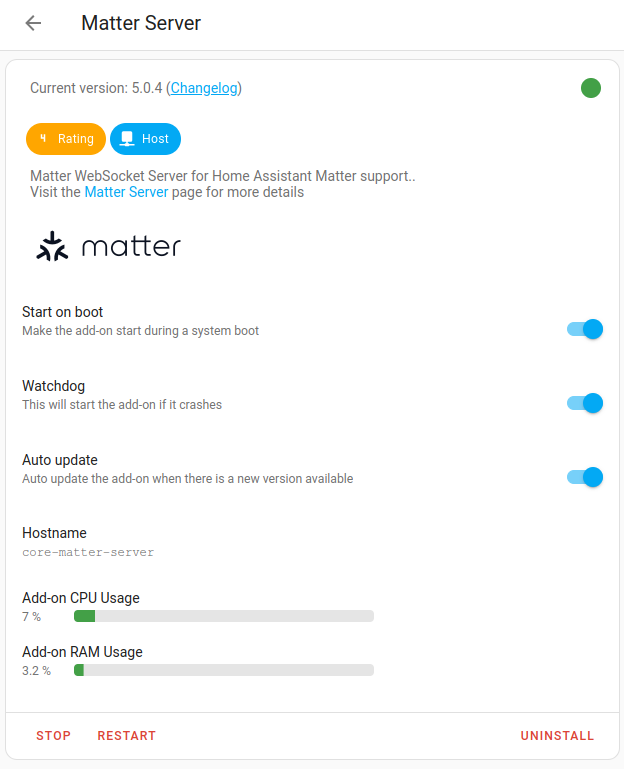
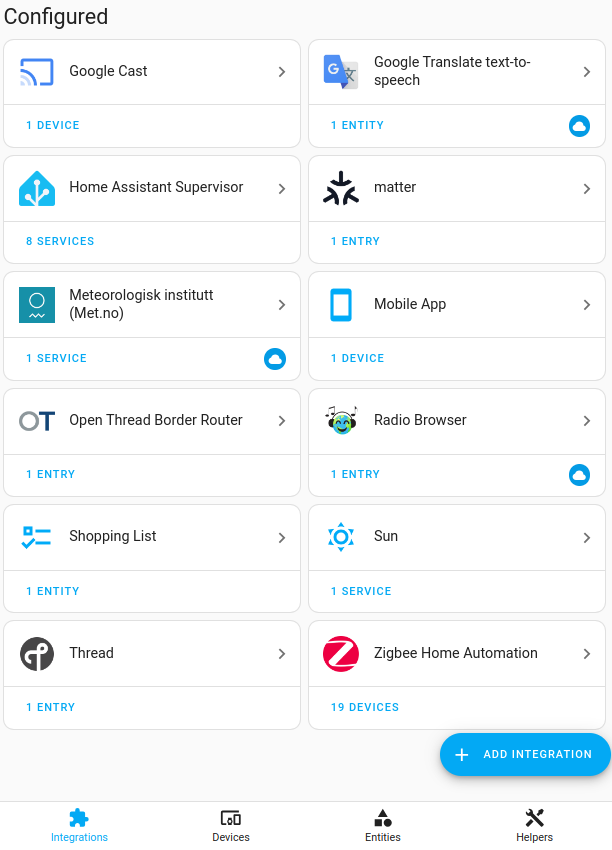
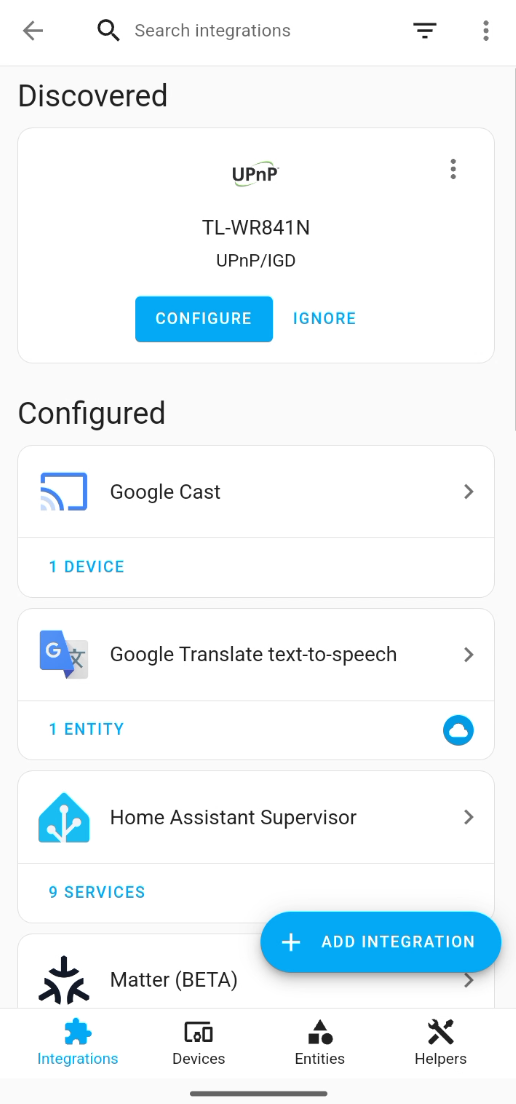
Open the
Integrations
menu item in the Home Assistant web interface. The following integrations must be visible:- Open Thread Border Router
- Thread
- Matter Server
Check that the Thread integration setting
Used for Android + iOS credentials
is enabled.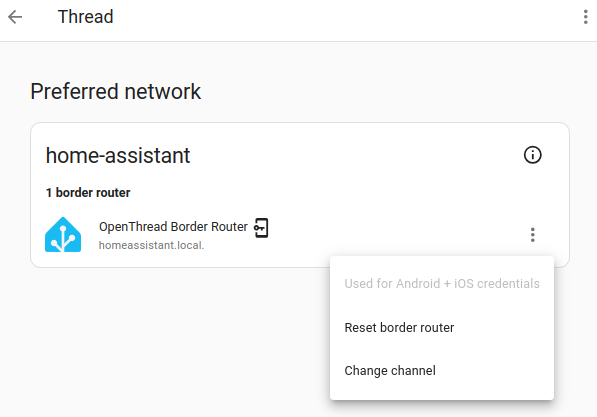
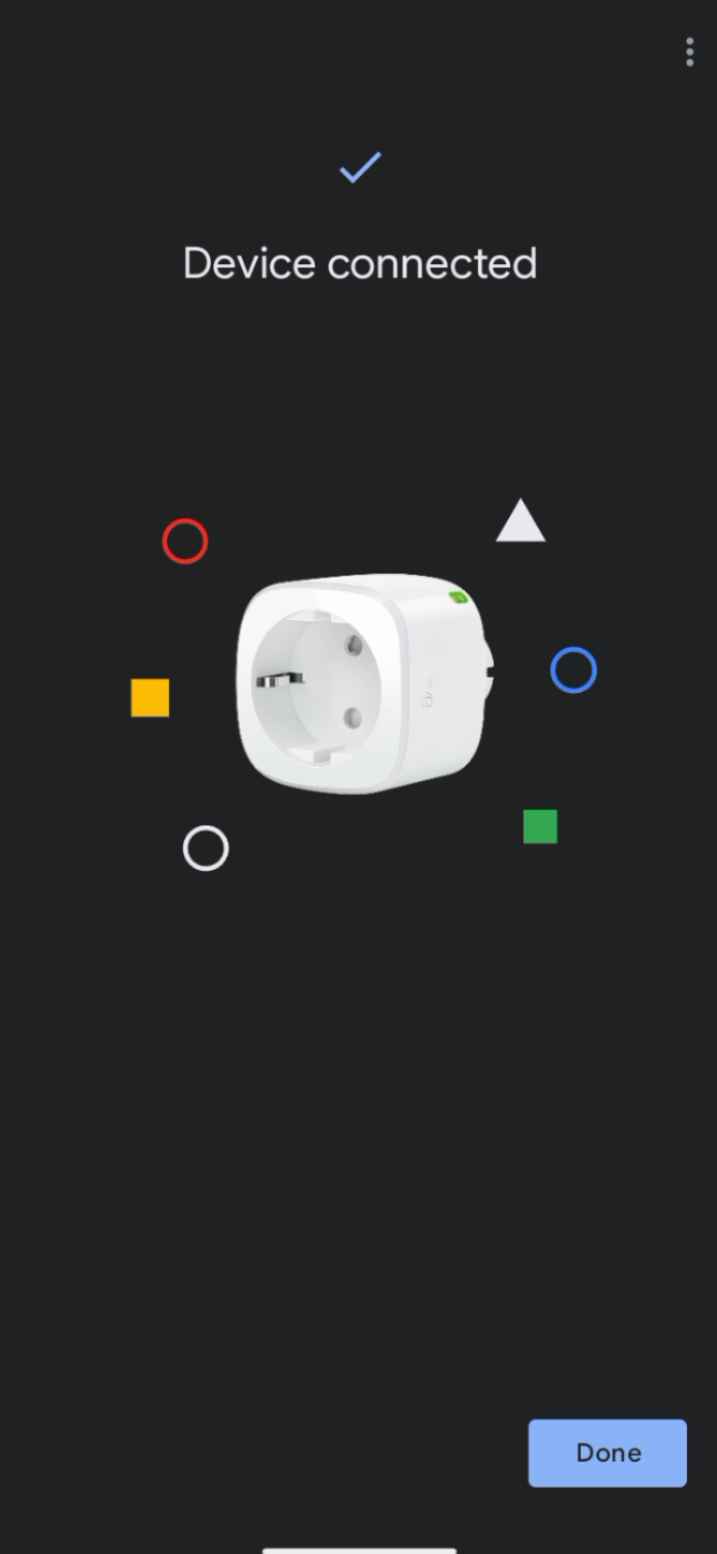
Switch to the Home Assistant app on the smartphone or tablet, as a Bluetooth connection is now required to add the smart plug. To do this, go to the menu item
Settings
andDevices and Services
.
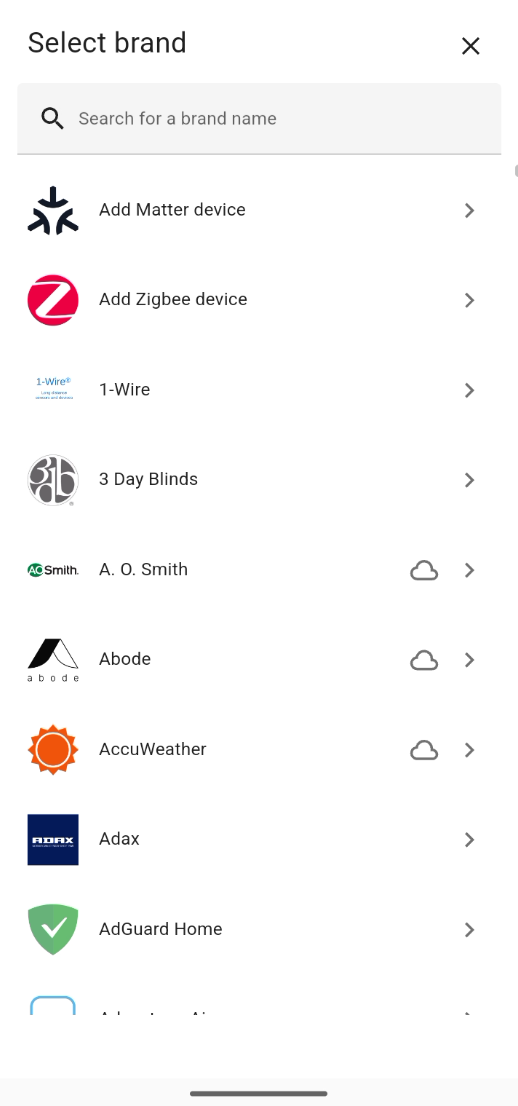
Go to
Add Integration
and connect a newMatter Device
.
The search for a new Matter device now begins. Once the device has been found, the Matter installation code must be scanned with the smartphone or tablet camera.
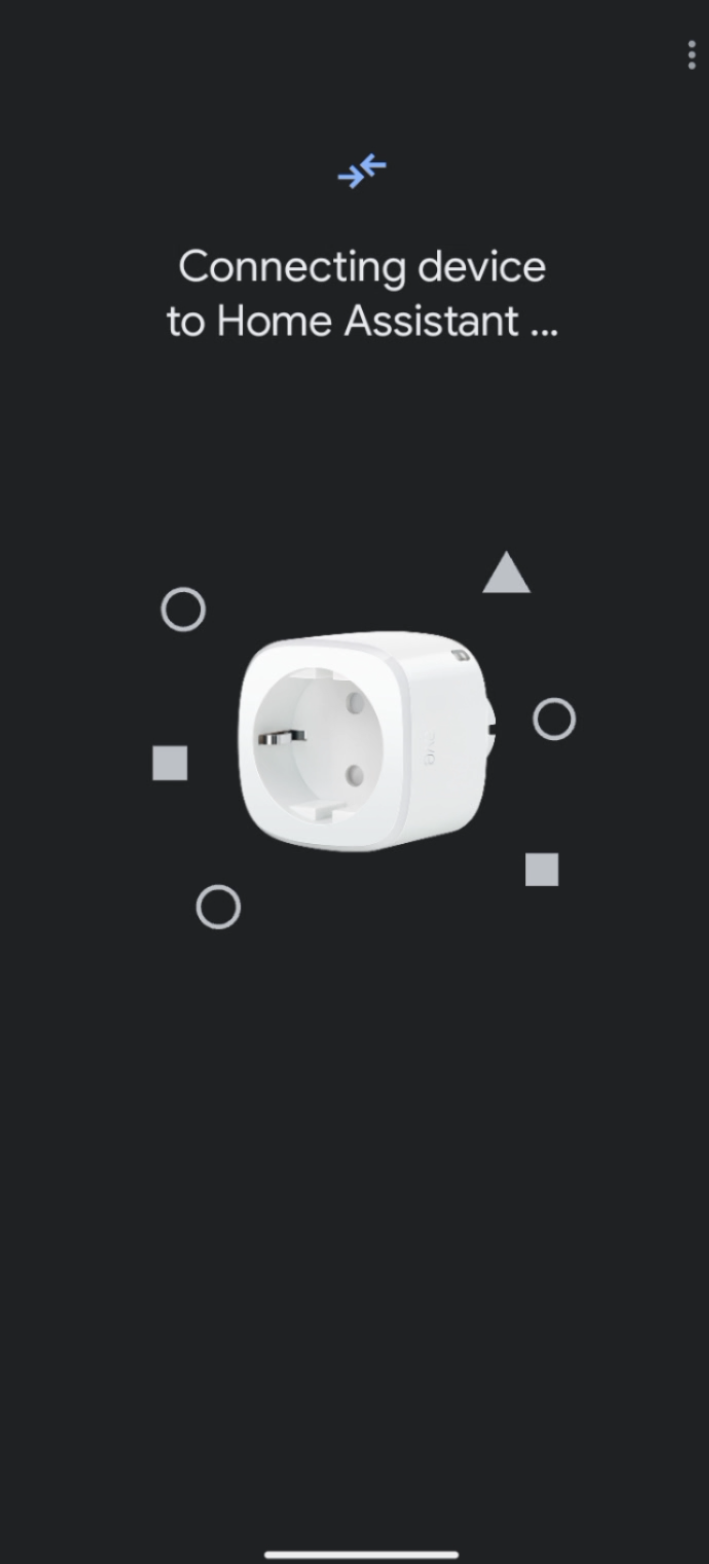
After the smart plug has been successfully connected, it can now be controlled via Home Assistant.